 |
| A normal night at Fredericksen Meadow. |
After pondering the possible topics for a few days I decided that I would cover the capture and processing involved in creating a CCD mosaic. Never mind that I'd never actually even tried to do one myself. Nothing helps get the juices flowing better than a little bit of pressure, even if it's self-induced. This was back at the end of June just after the new moon weekend. No worries on my end though - I still had all of July and part of August to capture the data, create a mosaic image and put together a 10 minute presentation. All I needed was a little bit of dark sky to capture the data. I was confident that I could do the rest without too much trouble. I planned a trip out in the middle of July solely to capture the raw data, but the Arizona monsoon season had other ideas and the weekend was clouded out. Since I live in such a dry climate I immediately made plans to head north to my favorite observing site for the weekend with some friends in the cool pines and 7000' of Fredericksen Meadow in North/Central Arizona. Three nights in the cool pines and I literally never even took the telescope out of the truck because it didn't stop raining and storming long enough to set up. Shut out. Again. Not for loss though, it was a wonderful weekend hiking and hanging out with my astro-friends and just generally loving how awesome I have it in this life and how little I've done to deserve it. Now I was beginning to get nervous. I had only one weekend left to capture data - process the data - and be ready to present it the Friday after that.
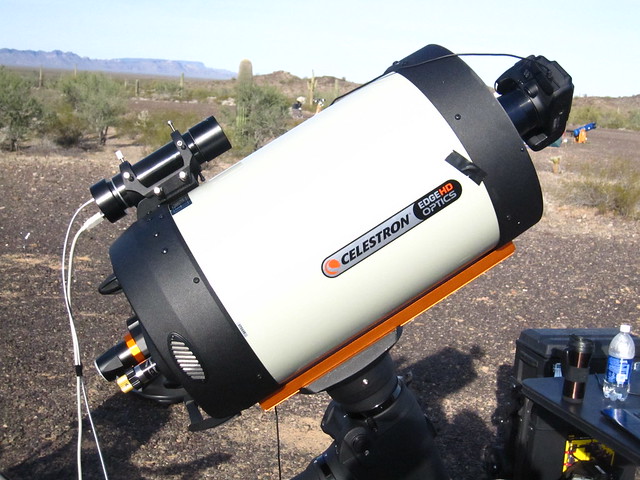 |
| The 11" Edge HD and Hyperstar on a previous trip to the Antennas site. |
To make a long story short, I constructed the mosaic and I was very happy with the result as shown above. My presentation itself didn't go as well as I'd hoped. I made the mistake (common with me) of trying to condense what was easily 45 minutes worth of material into ten. I was really pleased to show off how I'd processed the image in Photoshop and had a series of slides that walked through the process. The actual work in Photoshop went quite quickly so I put together a video-walkthrough of the steps that I took for some of my fellow club members who'd been asking me questions about my own workflow.
 |
| NGC 7000 and IC 5070 Mosaic (North American & Pelican Nebulae) 4 frame mosaic - 24 exposures - 2 minutes per sub exposure Captured with a QHY8PRO CCD Camera Celestron 1100HD Telescope with Hyperstar @ f/2 on a Celestron CGE Mount |
It's just shy of 10 minutes a straight, unedited walkthrough that shows everything that was done in Photoshop to process the images after they were calibrated and stacked in Maxim DL. I've added the video here too for anyone that might get some benefit out of it. A couple of notes about the video:
- There is no audio track in the video. I simply hit record and did a walkthrough while Camtasia captured the screen for me.
- In the first step you'll see that I run an action against all 4 frames that isn't really shown. That action is simply a curve followed by four iterations of levels that adjust the gamma slider. I did this via action so that I could insure that all 4 frames were initially stretched with exactly the same settings. There is no hidden voodoo there - and the later iterations of levels are all done in the same way.
- Since I'm not sure how well this video is going to get mangled by the compression algorithms, Here is a link to a full Windows Media version. It's a 21MB file, so you may want to download it before attempting to watch it.
- The video does go through the steps pretty fast. The pause button is your friend if you're trying to follow along and try any of it yourself.
No comments:
Post a Comment